Christmas Tree Advent Calendar!
A great product for families to use year after year!
PROJECT – Advent Calendar Kit!
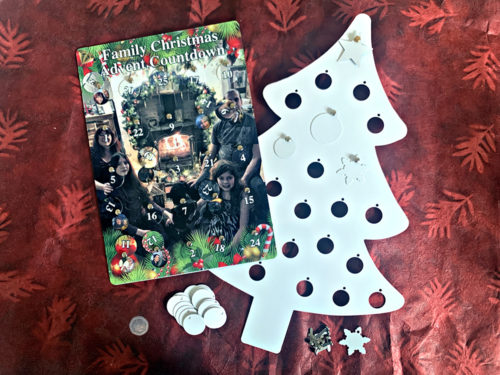
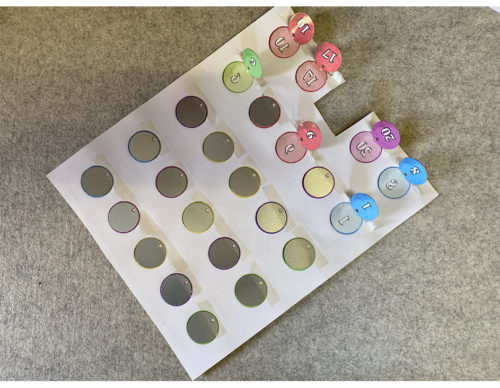
1. Check you have received all the components you need: You should have 2 layers – a base tree and a top layer tree with cut out holes plus 25 decorations to cover the holes – baubles (with one larger than the rest – for the no 25, Christmas day reveal!) , snowflakes, and stars, with 25 split pins and a roll of 3mm double sided tape. Your processed or dispatch email will have the download links for your templates (and graphics pack if you have ordered it ).
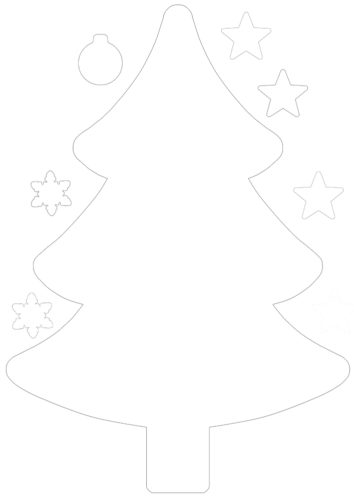
2. Download Templates: We will have supplied you with download links to the blank templates to easily create your advent tree: the the top layer with the holes that just requires a tree graphic, the base layer with holes that your hidden designs will be printed in to and a layer with discs , baubles, snowflakes and stars. If you have purchased our separate graphics pack you will also have our in house designed images and tree drawing to immediately print out and complete as shown – or you could adapt the designs using a mixture of yours and ours! Click on your download link and then save the items to your computer.
You can also access your templates from your account file on our website if you made an account when ordering – log in to access them.
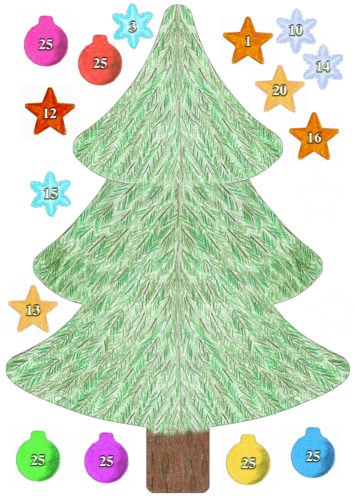
3. Add images: The templates are supplied as .PNG files, so they are layers with holes in for you to drop your images under. The top tree template is easy to complete – add a tree graphic / texture or even just a Christmas shade of green fill across the whole area to create the image. Add words or dates between the holes or on the trunk to personalise your calendar further.
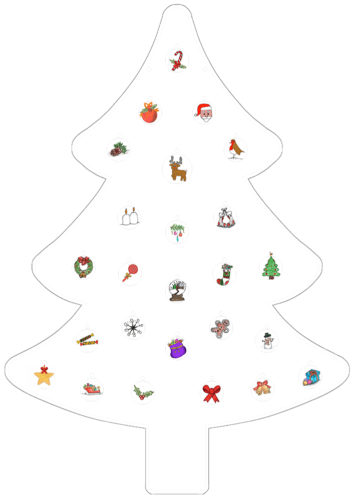
4. Including the base ‘hidden images’ layer: The bottom layer template needs an image for each day adding. You can use hand drawn Christmas graphics like we have done (for a cute touch, get your children to draw them for you) or totally personalise the tree by adding family photos , so each day a different family member is revealed, creating a family heirloom to use each year – great for family gift making!
5. The baubles are easy too: just add colours or simple images to complete – we’ve supplied the blank template with numbers on for speed, but you can easily erase these and type your own if you would prefer a different font or style. Make sure No 1 is one of the stars for the top of the tree. The graphics pack is supplied with a range of colours on the baubles, but use your hue/saturation sliders in your photo design software to quickly adjust these to your taste or style.
6. Print your designs: Once designed, print the top tree, baubles, stars, snow flakes and small hidden images on the base tree, ready to press. We only have an A4 printer and even managed to print out the larger A3 image across 2 sheets to press as one. Ensure the images & numbers are reversed once printed so they will read correctly once pressed.
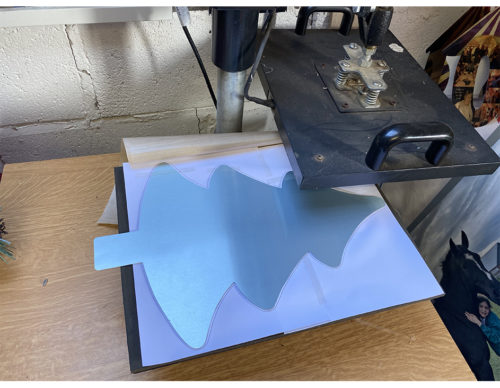
7. Remove plastic and tape: Prepare the metal by removing the plastic protective film. Use tape to secure the metal over the printed sheets ready for pressing, allowing room for the image to bleed and only taping one side so it can be checked once pressed and go under heat for longer if required. Whilst doing this turn the press on ready so it can heat up in advance ready for printing.
8. Pressing: Once all items are ready and secure they are ready to be pressed. Open the press and place the first lot of prints and metal on a heat fabric sheet face down and gently close the press, ensuring nothing gets trapped or is moved. The tree may need to be done in separate stages dependent on how big your machine is. Make sure the press is firmly closed and wait for the alarm to sound to say the items are ready.
9. Removing from Press: Once the alarm has sounded the items will be ready. Care should be taken during this stage as the press and metal will both be very hot. Gently open the press and using gloves remove the items, placing somewhere safe to cool. Once cool flip the paper off the metal (do not remove tape) to ensure all the ink has transferred to the metal and there are no imperfections. If there are repeat til you are satisfied. Repeat for all items for pressing.
10. Remove Paper and tape: When you are satisfied with the pressing and the items are cool remove the tape and paper to reveal you’re Christmas baubles, trees and images. Group all the baubles, stars and snowflakes ready for pinning.

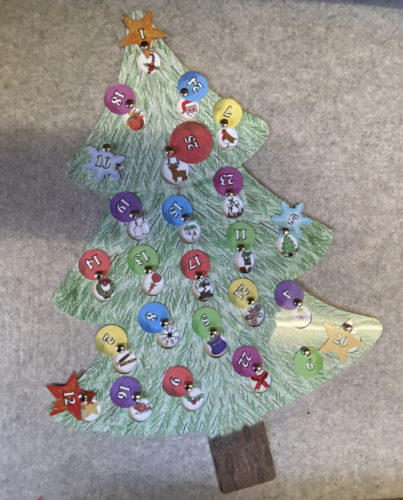
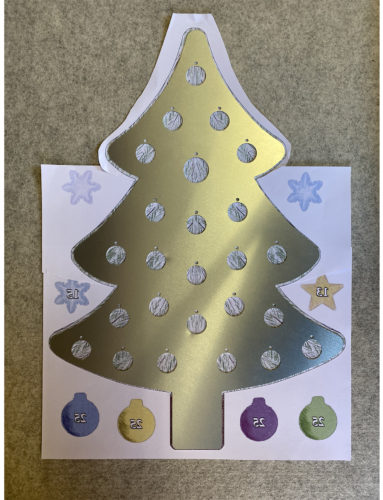
11. Split Pinning: Remove the split pins from the bag and put through each of the baubles, snowflakes and stars but do not flatten the pins on the back yet. The large bauble shape goes in the upper centre of the tree for Christmas Day and the snowflakes and stars go on the outer edges to avoid catching the other baubles when opened. As shown in the image. Continue to then fill the tree with the other baubles arranging how you like.
12. Taping the middle tree and pins: Use the double sided red tape provided for this next stage. Gently hold the baubles securely and turn the tree upside down. Use the tape to run along inside the tree shape ensuring it doesn’t overlap itself and it will catch each side of all split pins when they are laid flat. Tape around the edge of the tree with no gaps so it is more secure when finished.
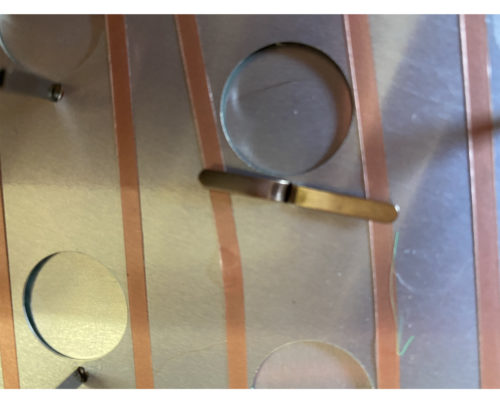
13. Holding down the pins: Remove the top red plastic from the tape when you are happy but only from the inner tape lines. Leave the outer ones til after. Now flatten the split pins ensuring each side is caught by the tape to keep them secure. Repeat this for all the pins.
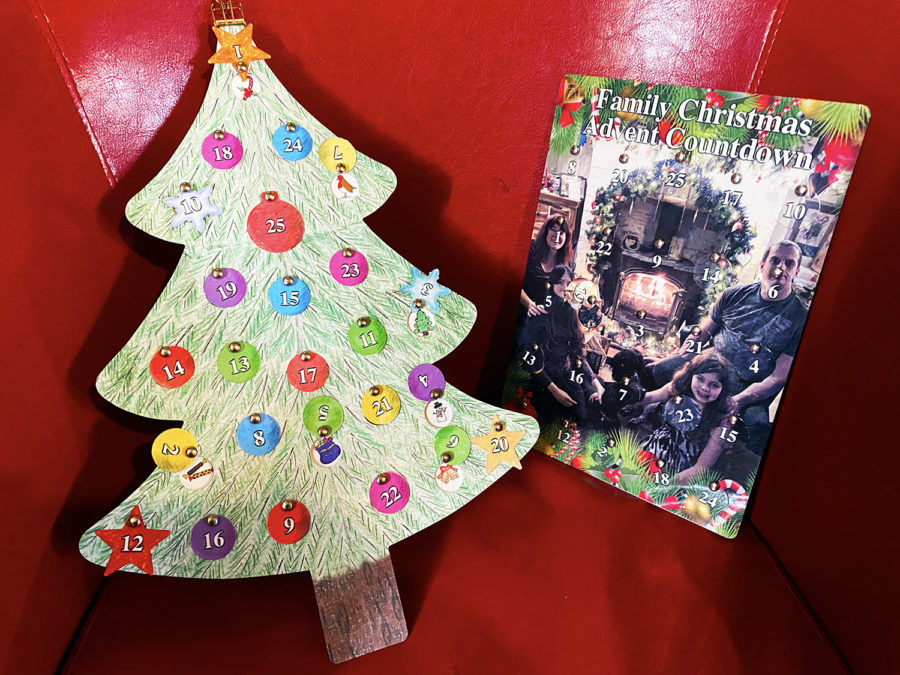
14. Securing both tree shapes together: Once this is done you can now remove the red plastic film off the tape around the edge of the tree. Very carefully now line up both tree shapes and press together ensuring the outsides are pushed in to allow both pieces of metal to stick to each other.
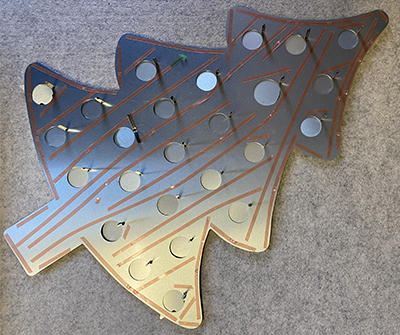
15. The finished Advent Calendar!: Now your advent calendar will be about finished! Just check all the baubles open easily by opening each one and moving them around. Your Christmas Tree advent calendar is now complete and can now be enjoyed year after year! please send us any photos of your finished designs, we would love to see them!